
🔧 How to Make URI Work in Obsidian Appimage: A Practical Guide for Linux Users 💻 EN-PTBR
| English | Português |
|---|---|
| 😃 Hello, note-takers! In today's post, I will show you how to download Obsidian (in my case, I'll use it on Ubuntu) and integrate it with the applications, and enable the URI, both of which are not available in the AppImage version. | 😃 Olá, anotadores! No post de hoje, vou mostrar como fazer o download do Obsidian (no meu caso, vou usar no Ubuntu) e integrá-lo aos aplicativos, e habilitar o URI, que ambas as opções não estão disponíveis na versão AppImage. |
| English | Português |
|---|---|
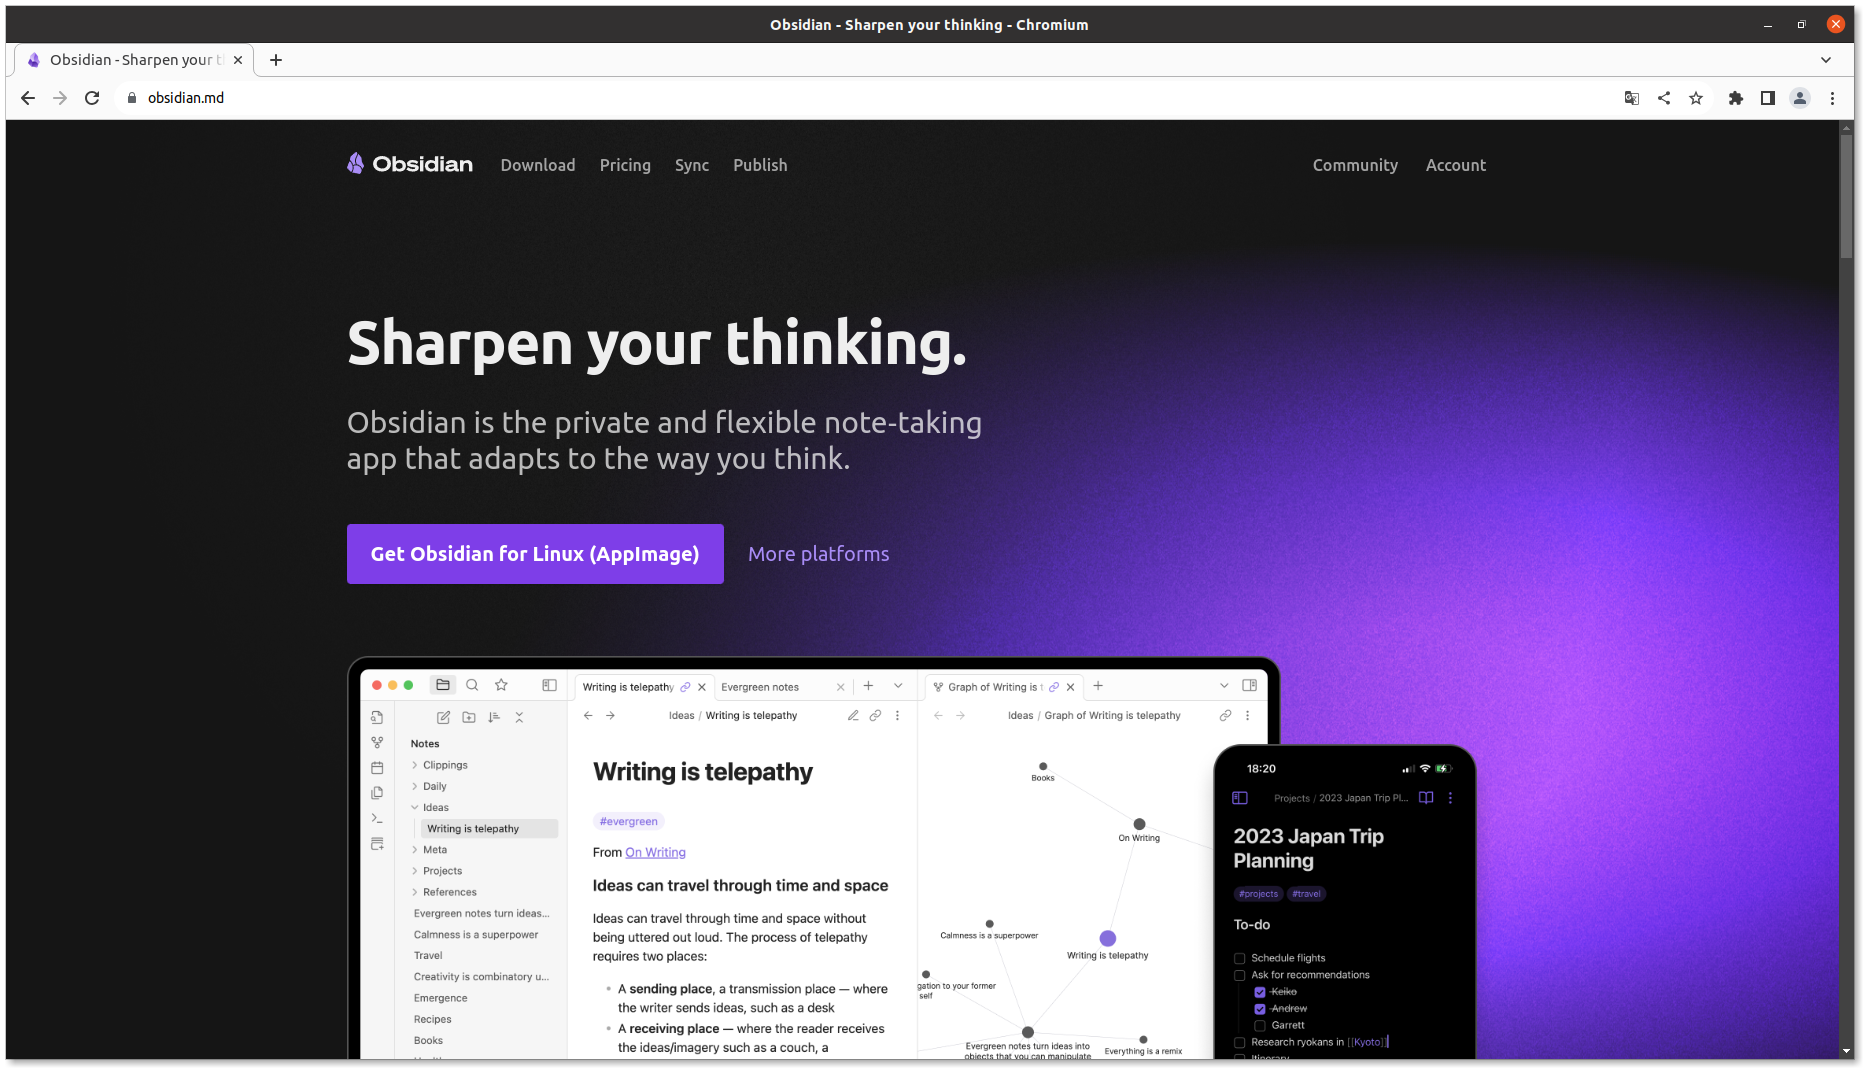
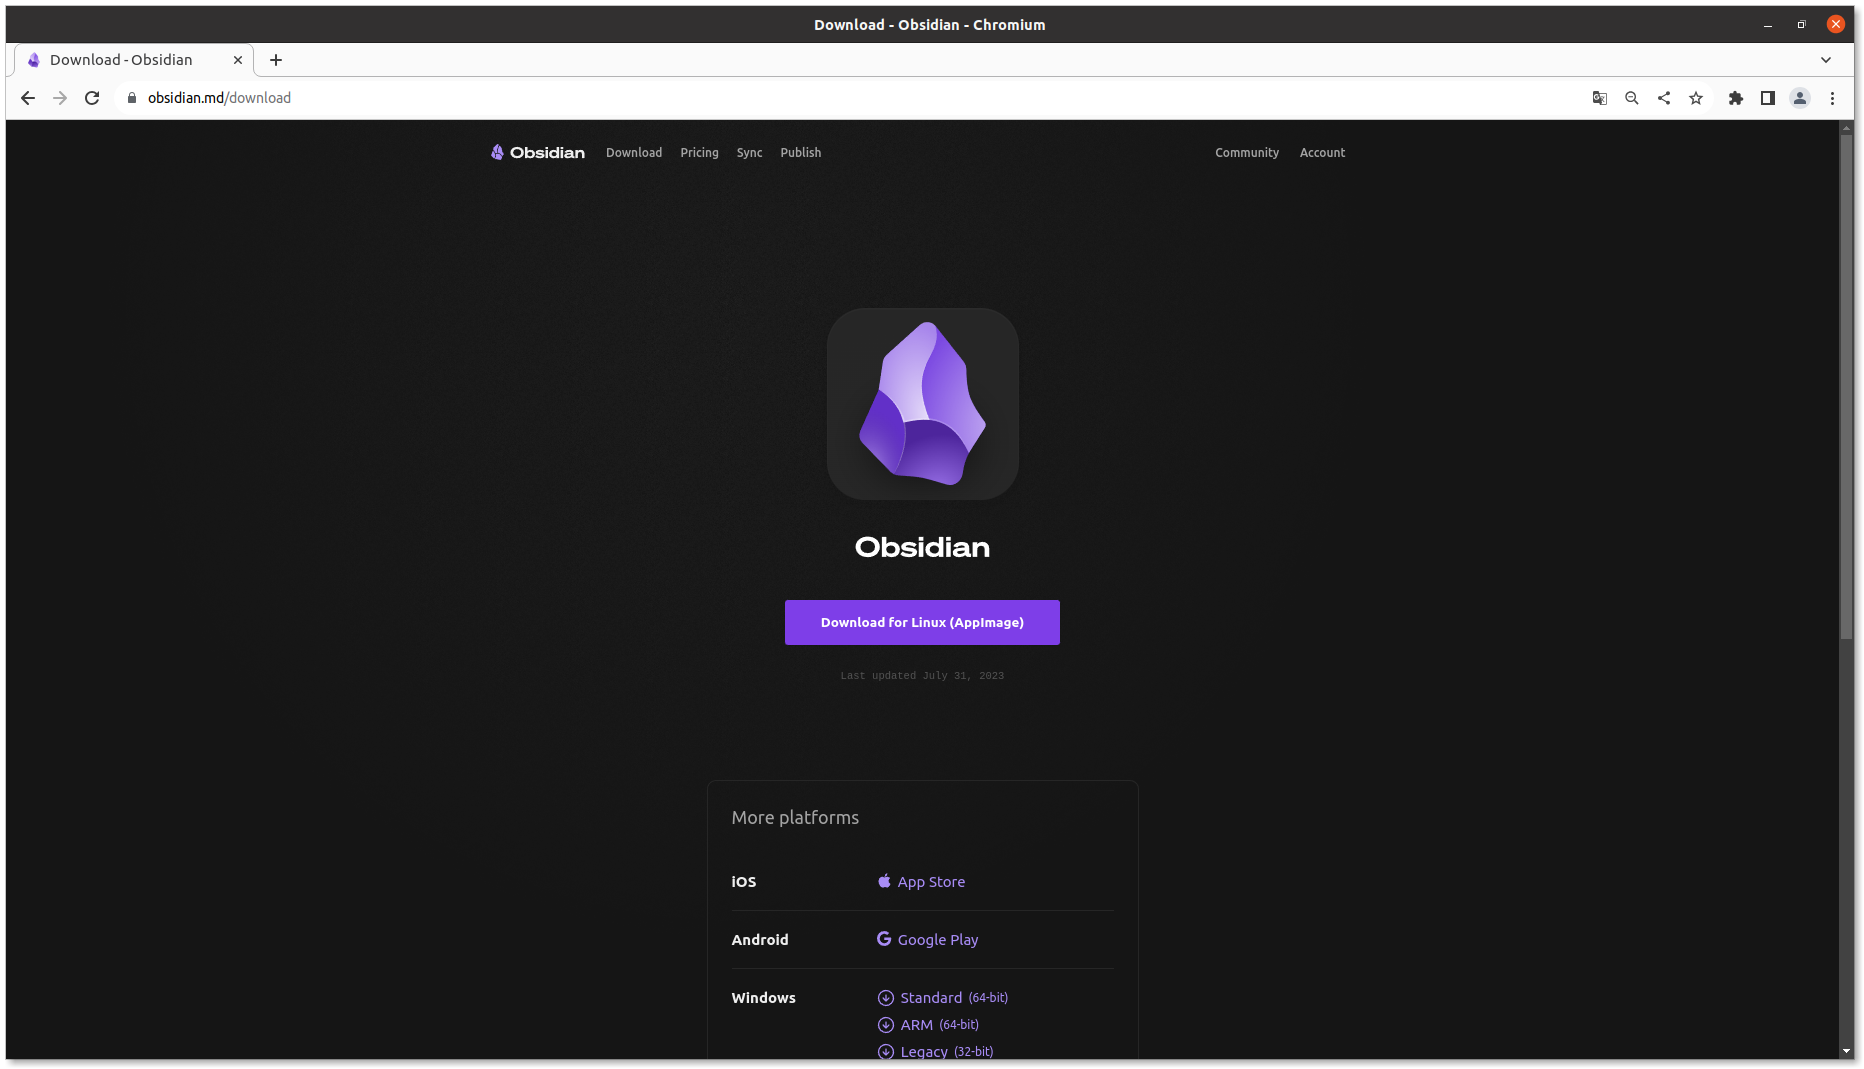
| 😊 Access the download page here: https://obsidian.md/download, and download the version of your choice. Obsidian is available on iOS, Android, Windows, Mac, and Linux, so no one is left out. In my case, I will download the AppImage version. | 😊 Acesse a página de downloads por aqui: https://obsidian.md/download, e baixe a versão de sua escolha. Obsidian está disponível em iOS, Android, Windows, Mac e Linux, ou seja, ninguém fica de fora. No meu caso, vou baixar a versão AppImage. |
| English | Português |
|---|---|
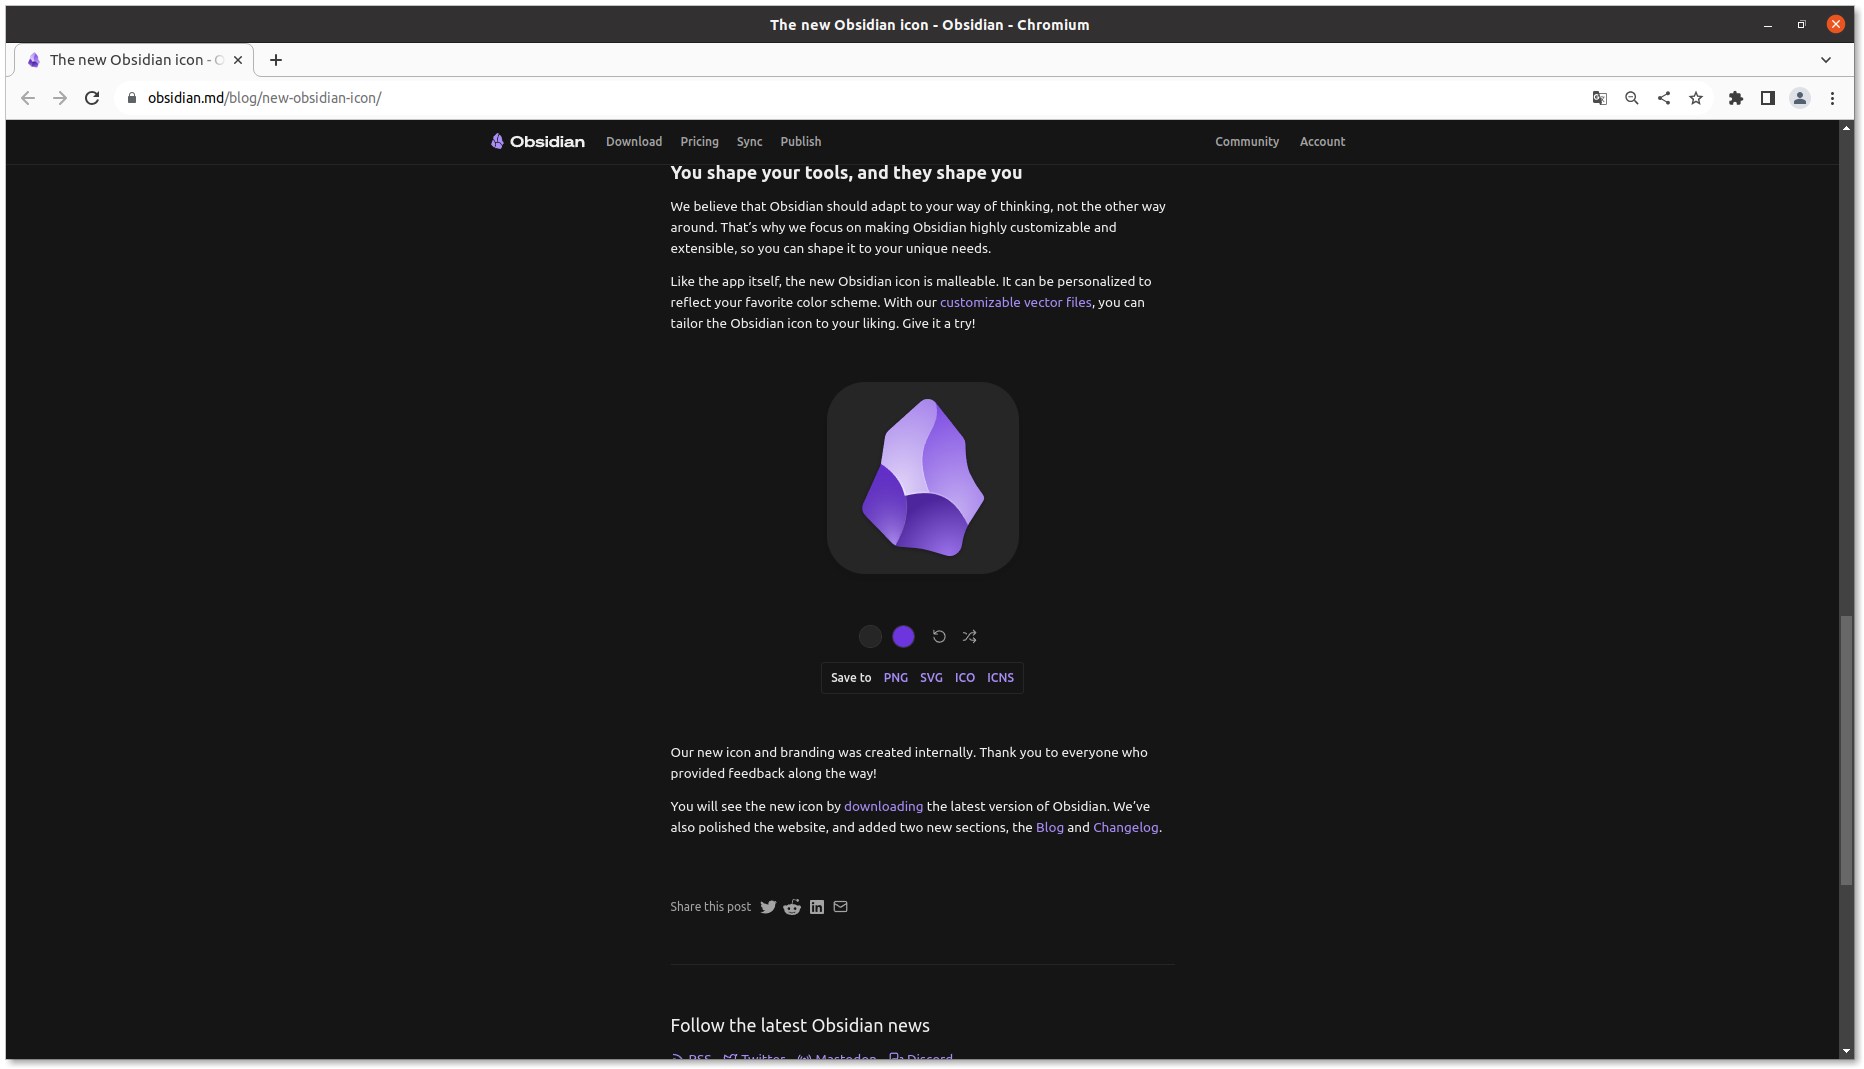
| 😉 Now, only Linux users who use AppImage, open the following URL: https://obsidian.md/blog/new-obsidian-icon/ and download the program's icon, which by default does not come in the AppImage. | 😉 Agora, apenas usuários Linux que usam AppImage, abra a seguinte URL: https://obsidian.md/blog/new-obsidian-icon/ e baixe o ícone do programa, que por padrão não vem no AppImage. |
| English | Português |
|---|---|
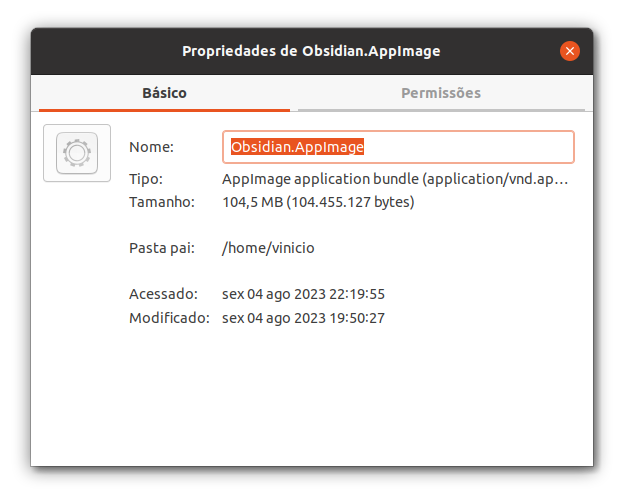
| In my case, I downloaded both the image file and the program itself to the main home directory and made a change to their names to make it shorter, deleting the version of the program and leaving it only as Obsidian.appimage. | No meu caso, eu baixei na home principal tanto o arquivo da imagem quanto o programa em si e fiz uma alteração em seus nomes para ficar mais curto, apagando a versão do programa e deixando apenas como Obsidian.appimage. |
| English | Português |
|---|---|
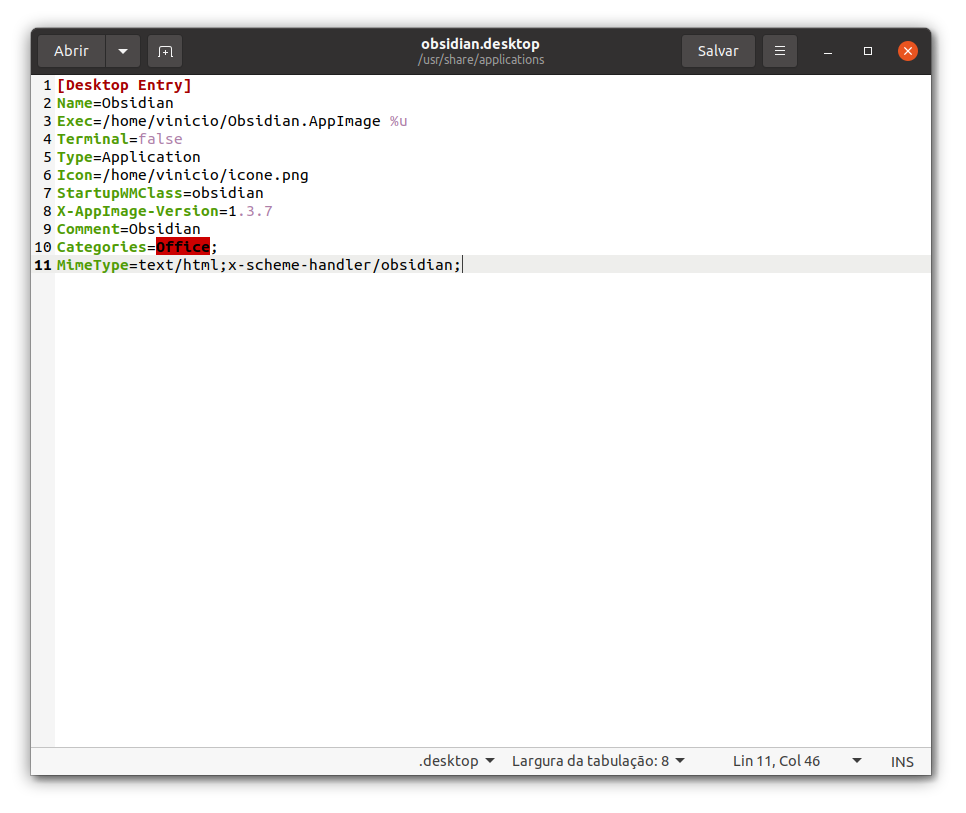
| Now comes the important part for AppImage users: to get the URI working correctly, we need to create a .desktop file. I'll leave the template below; create your obsidian.desktop file and modify the line where it mentions the directory where your program was installed and the path to the image. | Agora que vem a parte importante para usuários AppImage: para funcionar corretamente o URI, precisamos criar um arquivo .desktop. Vou deixar o template abaixo; crie seu arquivo obsidian.desktop e altere a linha onde diz o diretório de onde seu programa foi instalado e o caminho da imagem. |
[Desktop Entry]
Name=Obsidian
Exec=/home/vinicio/Obsidian.AppImage %u
Terminal=false
Type=Application
Icon=/home/vinicio/icone.png
StartupWMClass=obsidian
X-AppImage-Version=1.3.7
Comment=Obsidian
Categories=Office;
MimeType=text/html;x-scheme-handler/obsidian;
| English | Português |
|---|---|
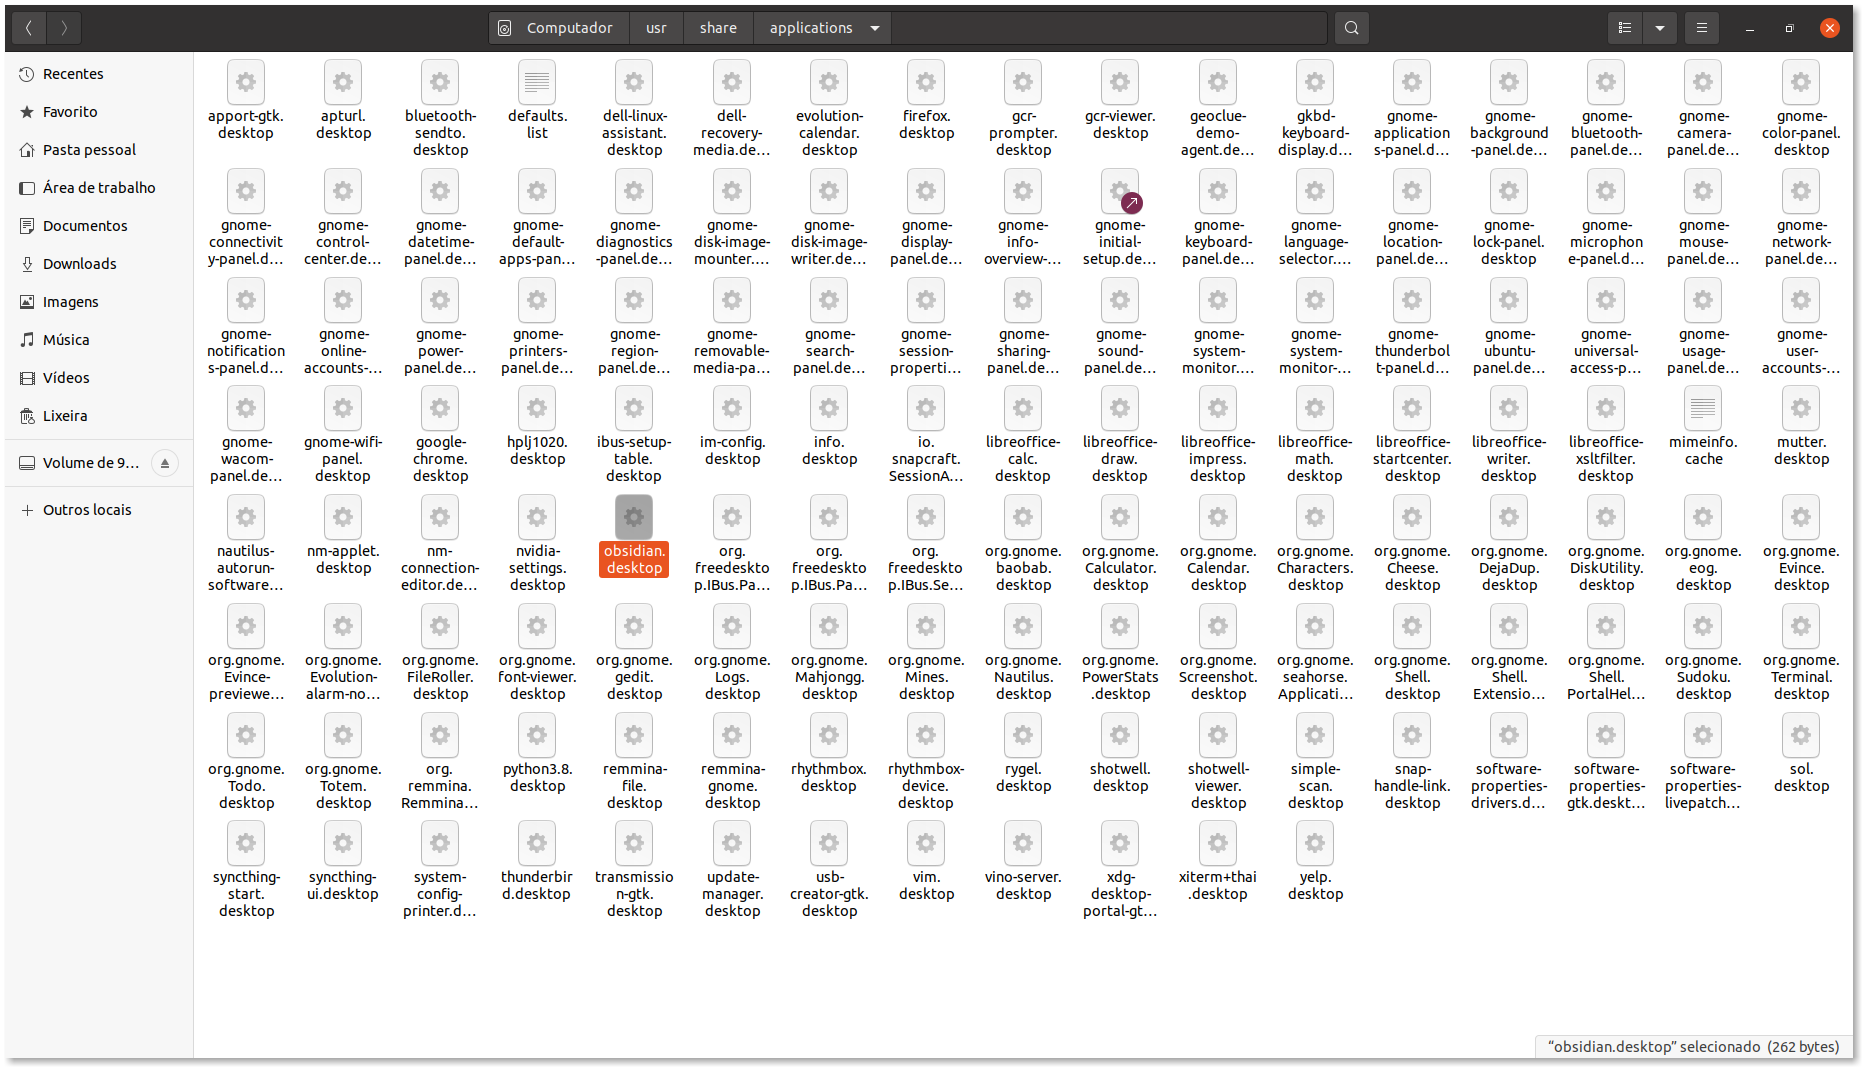
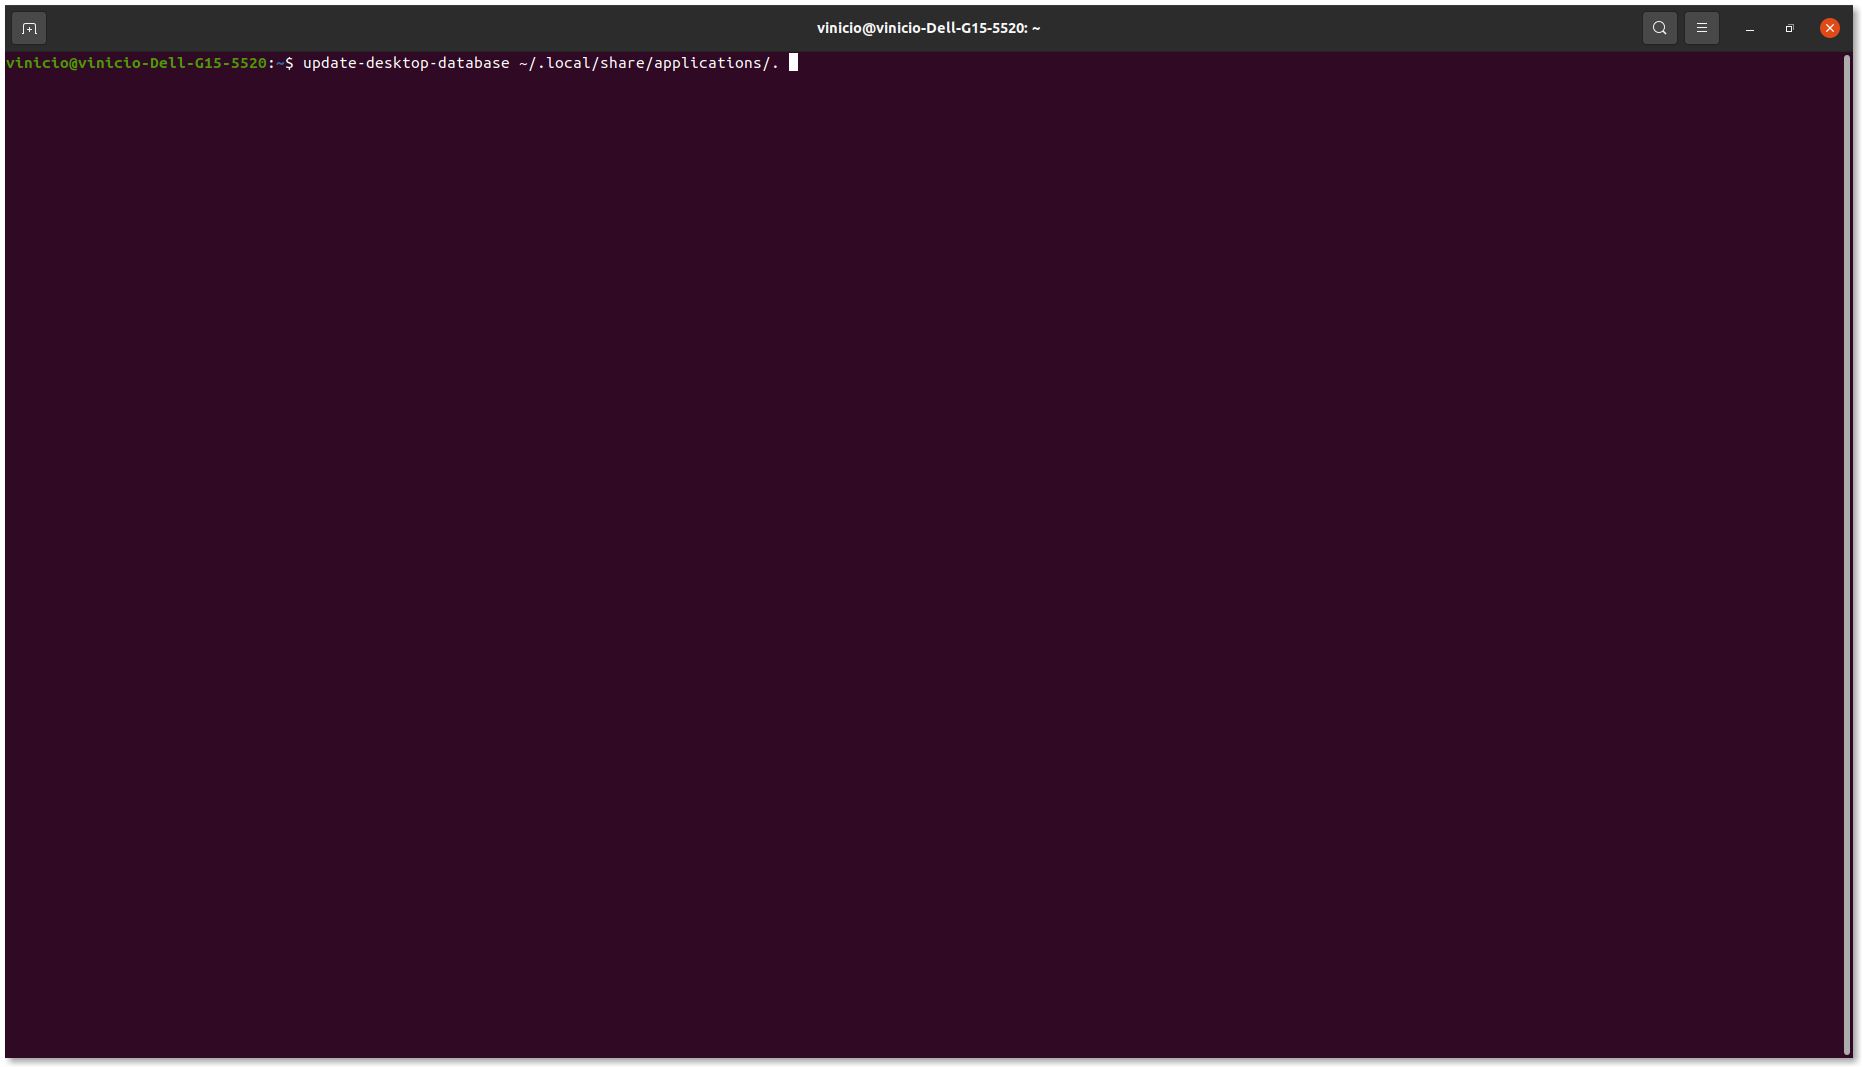
| 😎 Now, save your file in /usr/local/share/applications/, and finally, type in the terminal: update-desktop-database ~/.local/share/applications/. And, for testing, you can type in the terminal: xdg-open "obsidian://new?vault=notes&name=note&content=content". If Obsidian opens, everything is fine. | 😎 Agora, salve seu arquivo em /usr/local/share/applications/ e, por fim, digite no terminal: update-desktop-database ~/.local/share/applications/. E, para teste, você pode digitar no terminal: xdg-open "obsidian://new?vault=notes&name=note&content=content". Se o Obsidian abrir, está tudo certo. |
update-desktop-database ~/.local/share/applications/.
xdg-open "obsidian://new?vault=notes&name=note&content=content
| English | Português |
|---|---|
| ✅ Having done that, you are now able to save the icon on the taskbar and in the GNOME applications menu, something that was not possible before creating the file. | ✅ Feito isso, você agora é capaz de salvar o ícone na barra de tarefas e no menu de aplicativos do GNOME, coisa que não era possível antes de criar o arquivo. |
| English | Português |
|---|---|
| 😊 Now it is also possible to work with URI, so we can open Obsidian in various ways, and it's essential to have URI functioning to work with browser extensions, to save web files in notes, and to do web scraping. This is a simple and straightforward tutorial for a specific target audience. Others, like Windows users, will not have problems with icons and URI; besides, the installation is the famous "next, next, next". I was going to make a tutorial on how to use Syncthing to synchronize notes, but I realized that I wouldn't be able to create it without having my Obsidian installed. I use it for everything, including image uploads, both from PC to cell phone, and since the Syncthing tutorial would require images, I decided to leave the Syncthing tutorial for another opportunity and chose to do this one because months ago, I racked my brain until I figured out how to get URI working correctly on Ubuntu. So, that's it; below is how my Obsidian is, full of quirks, plugins, and themes. 😂 | 😊 Agora também é possível trabalhar com URI; assim, poderemos abrir o Obsidian de mais diversas formas, e é essencial ter o URI funcionando para trabalhar com extensões de navegadores, para salvar arquivos web em notas e fazer web scraping. Esse é um tutorial bem simples e objetivo para um público-alvo específico. Os demais, como usuários Windows, não terão problemas com ícones e URI; além do mais, a instalação é o famoso "next, next, next". Ia fazer um tutorial de como usar o Syncthing para sincronizar notas, mas acabei percebendo que não ia conseguir criar sem ter meu Obsidian instalado. Uso ele para tudo, inclusive upload de imagem, tanto do PC para celular, e como o tutorial do Syncthing ia precisar de imagens, decidi deixar o tutorial do Syncthing para outra oportunidade e resolvi fazer esse, porque meses atrás quebrei a cabeça até descobrir como fazer o URI funcionar corretamente no Ubuntu. No mais, é isso; abaixo está como meu Obsidian está, cheio de frescuras, plugins e temas. 😂 |
#Obsidian
#LinuxUsers
#URI
#Ubuntu
#AppImage
#TechTutorial
#OpenSource
#ProductivityTools
#NoteTaking
#DigitalWorkspace
🔧 How to Make URI Work in Obsidian Appimage: A Practical Guide for Linux Users 💻 EN-PTBR